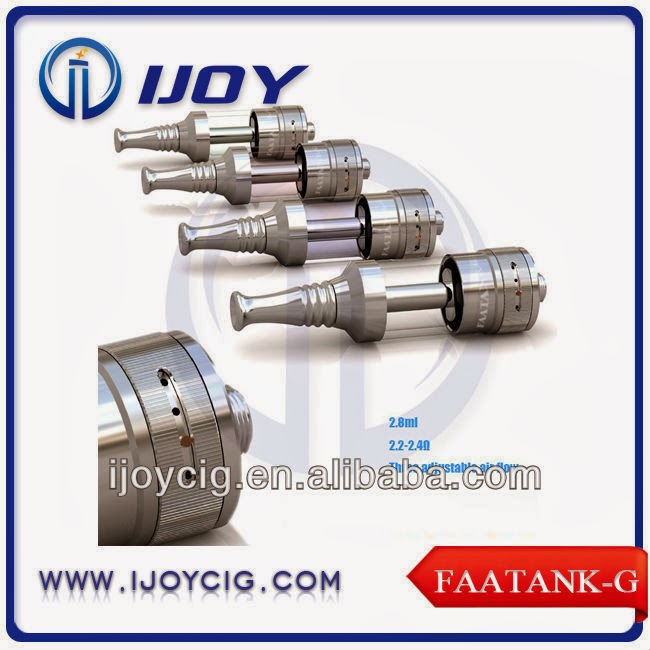
World up 2.8ml Aspire Nautilus/Faatank-g Adjustable Airflow Cartomizer/ clearomizer
2.8ml FAATANK-G/Aspire Nautilus Adjustable Airflow Bottom Coil Changeable Pyrex Glass Clear Cartomizer.
The faatank-g tank has truly raised the bar with clearomizer tanks. Everything about this device is flawless; it's engineered and machined phenomenally well. With its pyrex tank and copper body it's extremely durable. The large press-fit o-rings ensure that it does not leak, and the ample amount of wicks ensure that gurgling is rare. If there is a little buildup, opening the airflow to a higher setting and taking a good drag will almost immediately vaporize the built-up liquid, getting rid of the gurgle. It also features a glue-free design, allowing it to be taken apart completely for thorough cleaning. The drip tip is detachable, allowing you to use one of your choice.
It's a bottom coil e-cigarette clearomizer with adjustable airflow. The base of the faatank-g has a rotating ring with a clicking lock to adjust the airflow to your preference; the options for airflow holes are .8mm, totally 3 hole there,so you can got 0.8mm,1.6mm,2.4mm.
It's a bottom coil e-cigarette clearomizer with adjustable airflow. The base of the faatank-g has a rotating ring with a clicking lock to adjust the airflow to your preference; the options for airflow holes are .8mm, totally 3 hole there,so you can got 0.8mm,1.6mm,2.4mm.
It holds an impressive 5ml of your favorite e-liquid. The coils that thefaatank-g uses have 4 punched holes and an fficient wick setup to ensure that you always get a full, consistent vape even at higher volts/watts. Included with the Aspire Nautilus are 2 dual coil units (1.6ohm and 1.8ohm), chrome "beauty ring" for a more flush look with smaller batteries, and an instruction manual.
Refilling the tank and replacing the coil are both done through the bottom of the device. To refill it, unscrew the base of the clearomizer from the tank. Drip your e-liquid of choice into the tank around the center tube but avoid allowing any to overflow into it. Use the milliliter lines on the side of the tank as a guide. To replace the coil, unscrew the base from the tank just like you were refilling it. The short stem with knurling that protrudes from the base is the coil unit; unscrew it from the base and discard it. Screw a new one into the base (only finger tight!) before screwing it back on to the tank. After installing a new coil, let it it sit for a few minutes to allow the wicks to become properly saturated before using.
More interest, pls check out here:


评论
发表评论